Time Traveling in Ableton Live
We've all wished we could go back & fix the mistakes we've made - the relationship we ended on a stubborn & moody day, the money we sent to that desperate Indian prince that reached out to us through email, the books we lent to that friend who won't text us back. Without time travel we can merely wallow in a regretful pool, but this need not be the case with modern digital audio workstations - you can reach back into your project's history through the magic of software & recover from misguided or accidental decisions you've made in the life of your track. Today we're going to look at a few ways to do this in Ableton Live.
Undo.copy.redo.paste
Undo/redo & copy/paste are ubiquitous across all productivity software & this is no doubt because they are impossibly useful, even if we often take them for granted as mundanities. In combination & with care, however, they can perform downright miracles. You probably already know that when you dig through your undo history, any changes make while you're back there will erase all the steps that had come after. As Doc Brown explained to Marty in Back to the Future Part II, making a significant alteration to the past will skew your reality into a new timeline & you will lose access to the one you came from.
In live, you need to keep this in mind when you're traveling back to the past via undo - don't mess with anything that will cut off access to the timeline as you know it. The cool thing is the copy command will not disrupt your undo history, so you can take elements from earlier in your project that you may have deleted or altered in some undesired way & bring them back to the future.
In this example, I removed some audio, worked on some midi drums, & then realized I wanted that deleted sample. Usually, this presents a depressing crossroads - get back the audio & remake the drums or try to re-record the audio. Not to worry, however, with non-destructive copying. here's what you do:
undo back to when the clip/device/value existed in its desired state - don't touch anything
carefully select & copy what it is you want - be extraordinarily careful not to even nudge these when you select them or change any value else you'll lose everything you did afterwards
redo back to the present - you can hold down the shortcut if you have a lot of steps to go through
paste to where you need it
Keep in mind this works for anything - audio effect, midi clip, whatever. There are other variations on this technique as well - you can save the audio/device to your browser, for example, for access when you return to the "present". The most important thing is to never do anything that disrupts your undo history.
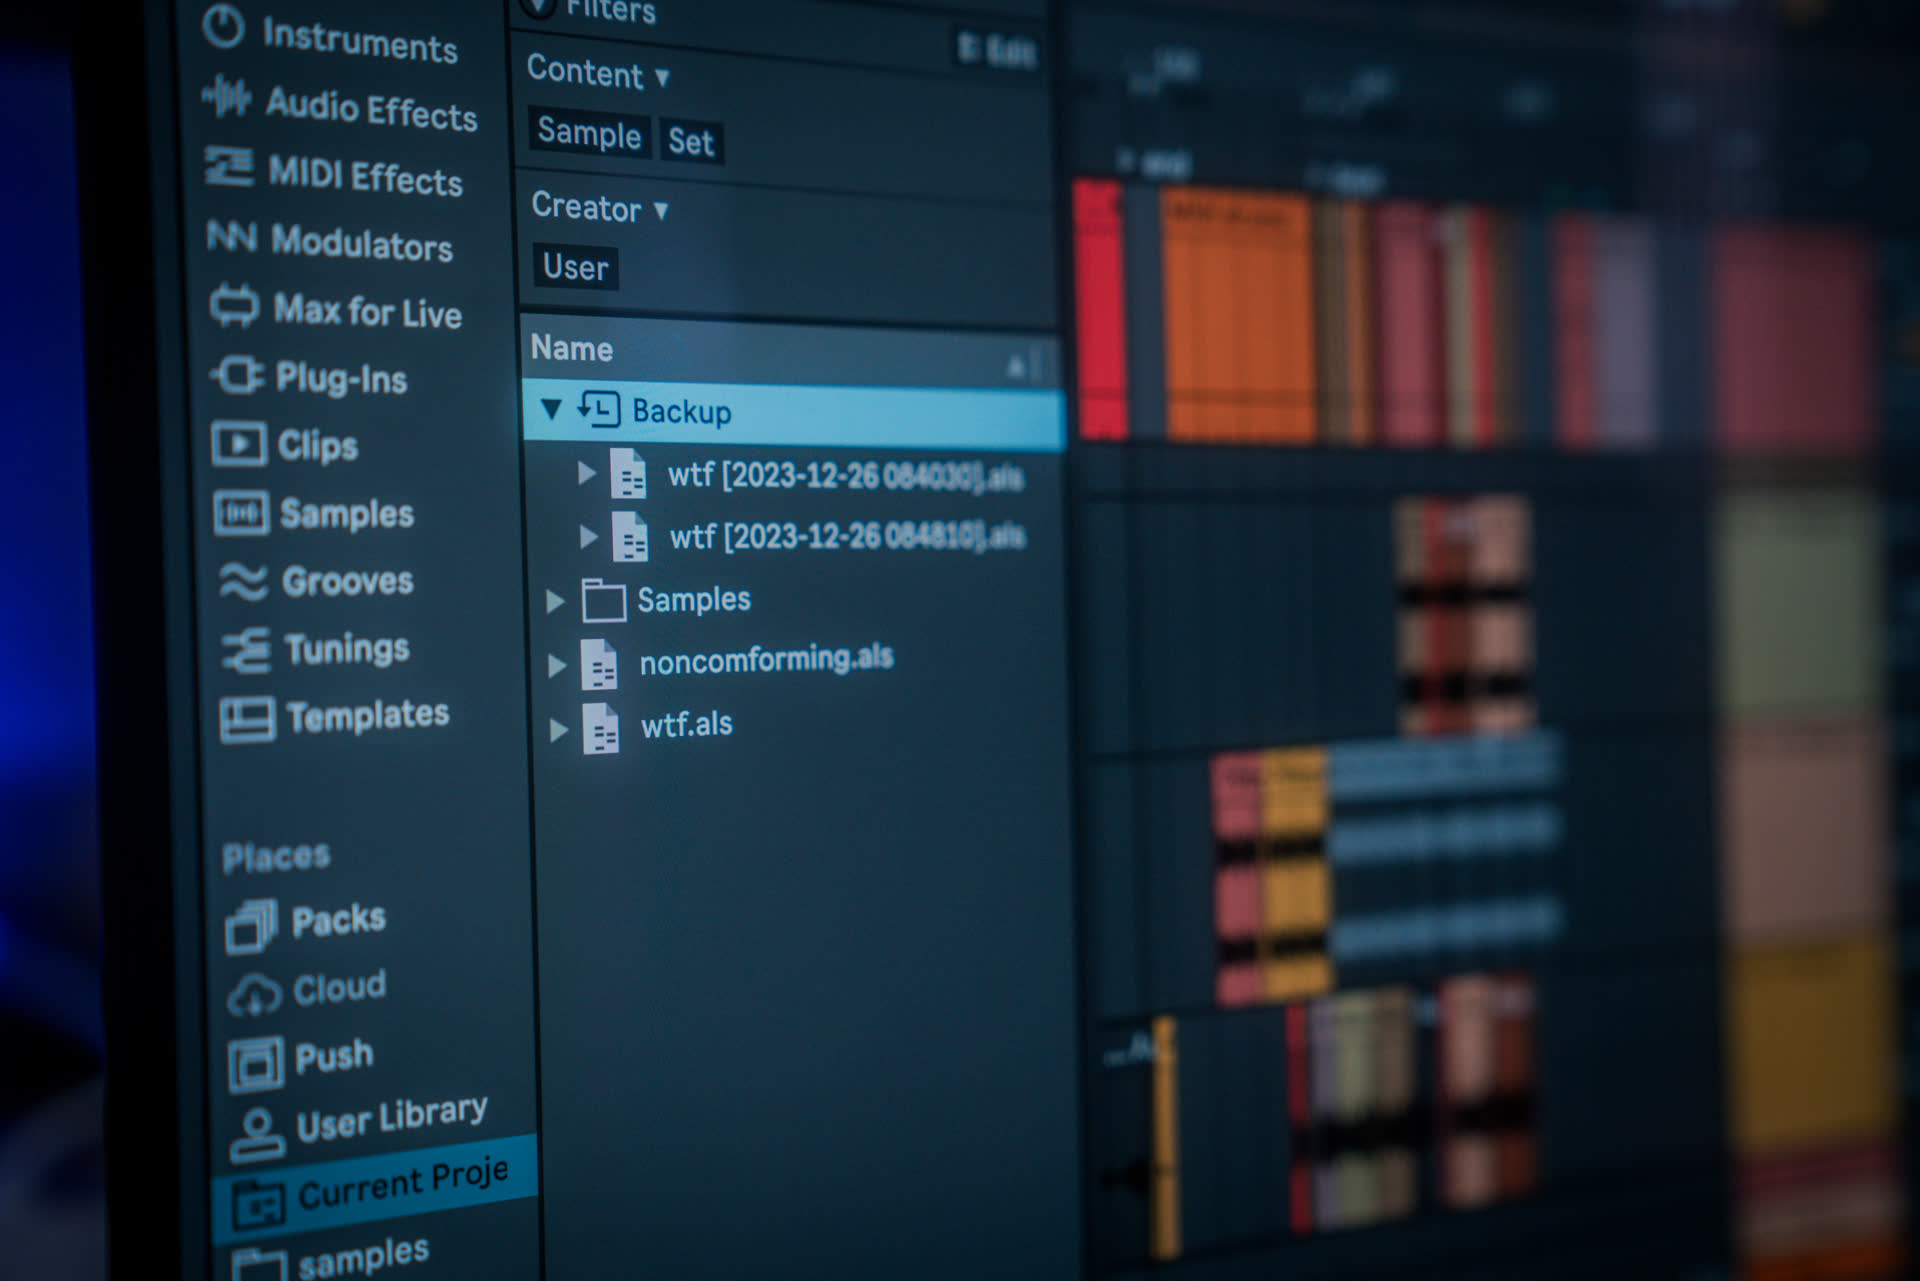
Recovery in Browser
The first way humans learned to communicate across time was through written text & careful record keeping. Without the musty histories stored in Minis Tirith, the important information Gandalf sought in Lord of the Rings would have been lost to legend. By saving all important documents, whether they be historical scrolls or recorded audio, we make them available for use to future generations.
Recording Variation
A different approach to creating variation (if you have access to a velocity sensitive MIDI controller) is to just record in a bunch of notes in one quick take. Don't worry too much about getting the pattern or timing perfect, as this is easy to correct after the fact. The important thing is that you have a natural variety of note velocities to work with in your clip.
Afterwards, you can quantize the notes if they're close to what you're going for or manually move the notes around to their correct positions. In this way, the human dynamics of the velocities you recorded persist even though the timing has been digitally perfected.
Remove Variation
Sometimes the archetypal drum machine consistency is aesthetically desirable, or any level of variation can become distracting with no repetition to grab on to. You might be tempted to reach for an audio compressor, but this will change the dynamics and timbre of your sounds depending on where the velocity was set. If you want true consistency within the MIDI notes themselves, it's best to just change the velocities.
My favorite method for doing this is to select the notes you want to smooth out and pull the velocities up until the tops start to shave off, then pull them all back down to the level you want. This works at the extreme (making all velocities the same) or more subtly by not pulling all the nodes to the top (to preserve some variation).
If you want to give yourself the flexibility of versioning, there's really no trick to it - just get in the habit of using "save as" or "save a copy" frequently as you work on your project.
If you take a look at the .als file of a project, they are actually tiny, <1mb in most cases. That's because most of the data is in lossless audio, stored separately, & it is not duplicated when you create a new save of your project. This means you don't have to worry about taking up a lot of space with different versions so there's really no excuse not to just save, save, save.


pATCHES © 2024
pATCHES © 2024
