Sharing Projects in Ableton Live
one of the joys of making music is the collaborative process that often goes into it. in the modern world of digital audio workstations, this does not necessarily require the individuals to be in the same room together, as tracks can be exchanged across the web to be worked on by multiple producers remotely. when sharing ableton live projects, it's easy to leave essential items behind, so in this article we will cover everything you need to know to successfully pack and send a project to a collaborator. even if you're already familiar with the process, you might find this guide useful to send to a producer you're working with before they email you their files.
The Project Folder
you've probably tried to work with other producers before and been sent only the .als for the project. this is ableton's proprietary "live set" file that contains information on the layout (such as midi and clip arrangement) but does not include some essential items for the project - namely, the audio files. after all, look how small the .als is - there isn't any lossless audio contained in that file! this is why it's important to share the entire project folder, as it's critical your collaborator have the /samples folder as well.
ableton project folders have a unique black icon so they should be easy to identify. before you share it, however, you have to ensure everything is packed up nicely inside as many of the audio files are not automatically placed in the project folder.
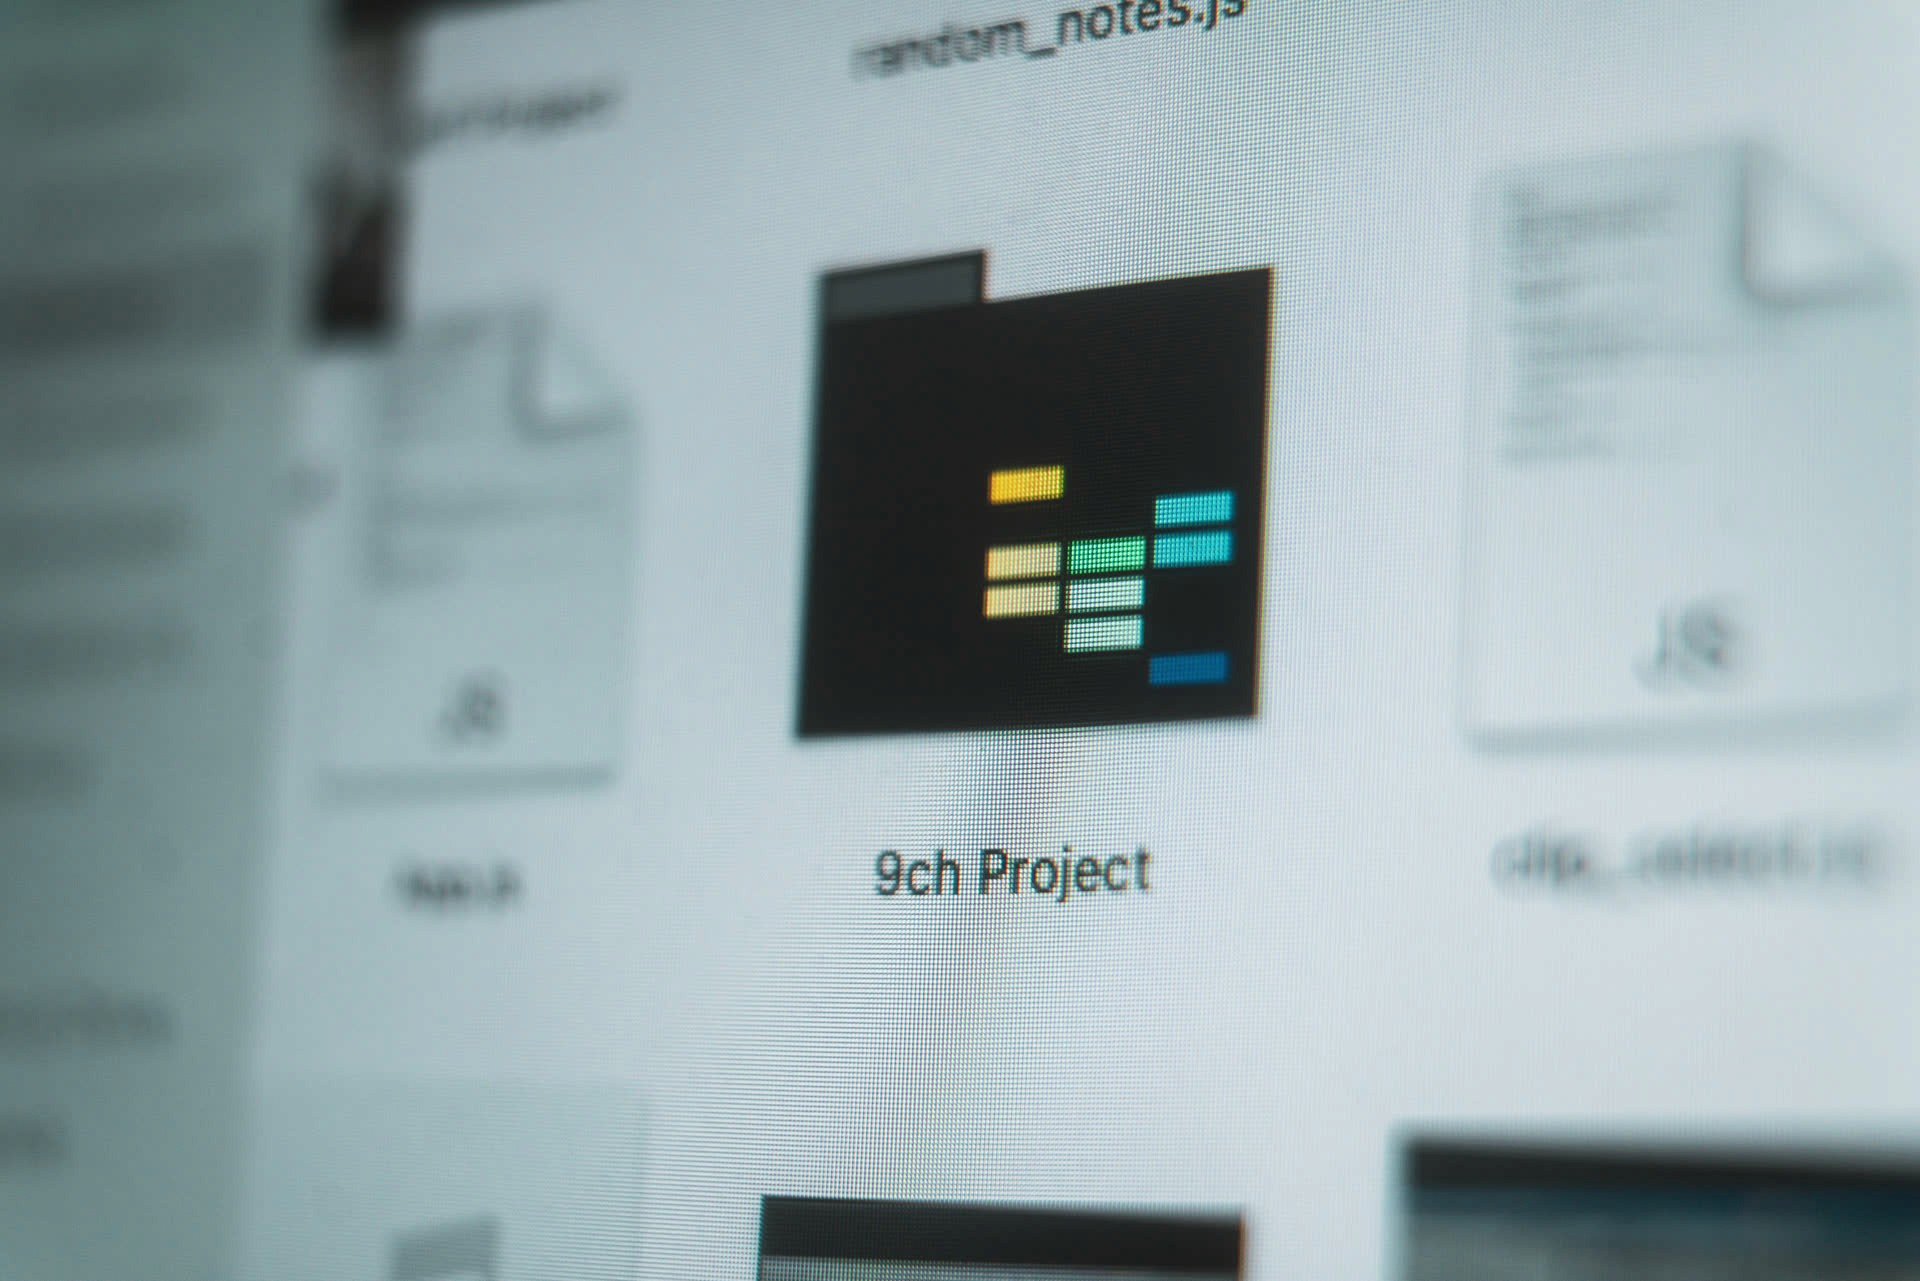
Collect All and Save
when you record audio in a project, the .wav file is saved in /{project folder}/samples/recorded. when you pull clips from other sources, like your sample library, ableton will reference that file location instead of duplicating it into your project's sample folder. this is usually preferable, as it saves your disk space from redundancy, but it means that if you send the project to someone all of those files will be missing. the solution is to use the "collect all and save" feature (found under the file menu) which will pull all of the files associated with the live set into the live project folder.
there are four options of what you can include, but for the most part you can just leave the first three checked and that should ensure all the needed media files are duplicated into the project folder.
The Plugin Predicament
when sharing projects between computers and producers, you might run into the issue of not having the same vst's as one another. if the missing plugin is an audio effect, like a compressor or delay, that processor will be bypassed in the chain. if it is a midi instrument, however, no sound will be made at all. one way you can stay safe and make sure everything sounds the way you left it is to freeze any track that has an external plugin on it. this is easy enough to do - just right click a track and select "freeze". you can even highlight multiple tracks and freeze all of them at once.
freezing a track renders out an audio version of your track to temporarily replace the devices that generate or process sound in real time. you can't make any changes to the recording while it's frozen besides the basic mixer controls, but your collaborator will be able to hear the track in the mix without having the vst you used in its chain. when you want to make adjustments, you can either "unfreeze" (which returns the track to normal) or "flatten" (which commits to the rendered audio).
if you're dealing with a plugin midi instrument, you might find it useful to duplicate the midi track, then freeze one and mute the other. this will ensure the instrument can be heard as intended but edits can be made to the notes.
with the midi saved to the project, your collaborator will be able to easily reference the notes for compositional purposes - they can use the clip to create harmonies and counterpoints in new instruments.
The Importance of Organization
I can't stress the importance of labeling the tracks in your project enough. when everything is labeled "1 audio", "2 audio", and "3 midi", it makes it really difficult for your collaborators to figure out where all the sounds are coming from. you can really help them out by adding descriptive labels like "lead guitar", "bubble synth", or even just "bass".
grouping can be just as important - drums, synths, and vocals should be placed next to each other for more logical organization anyway, and grouping offers the added bonus of mix bus processing.
Making Notes
perhaps it's not as necessary, but it can a nice to include a .txt file with all your notes when you share a project with someone. this will allow you to point out certain elements and ask your collaborator to look at specific issues in the mix. I recommend placing the notes in a new folder with the ableton project to ensure they will be seen.
you can also include notes in the project itself by writing a custom "lesson". the process is a little more complicated, but it can be worth it to maximize visibility and add a professional touch to your collaborative process.
if you want to learn how to add these kinds of notes to your project, Joshua Casper has made a detailed description of how to make custom lessons in your project file.
Compress and Share
once everything is in its proper place, you'll of course want to collect the folder into your favorite compression format. this ties everything into one file and reduces the upload/download time. after that it's just a matter of uploading the file to a hosting service like dropbox, google drive, or mediafire and sending your collaborator the link!

happy collaborating! did we miss anything producers need to consider before sharing their project? shoot us an email at contact@patches.zone!
happy collaborating! did we miss anything producers need to consider before sharing their project? shoot us an email at contact@patches.zone!
happy collaborating! did we miss anything producers need to consider before sharing their project? shoot us an email at contact@patches.zone!


pATCHES © 2024
pATCHES © 2024
