Optimizing The Layout in Arrangement View
Workspace begets workflow. A well-organized workspace in Ableton Live isn't just a convenience— it offers quick access to everything our process requires so we can be at our most creative and efficient. This guide focuses on some of the more subtle yet powerful shortcuts that can make navigating the Arrangement View quicker and more intuitive.
Optimize Width and Height
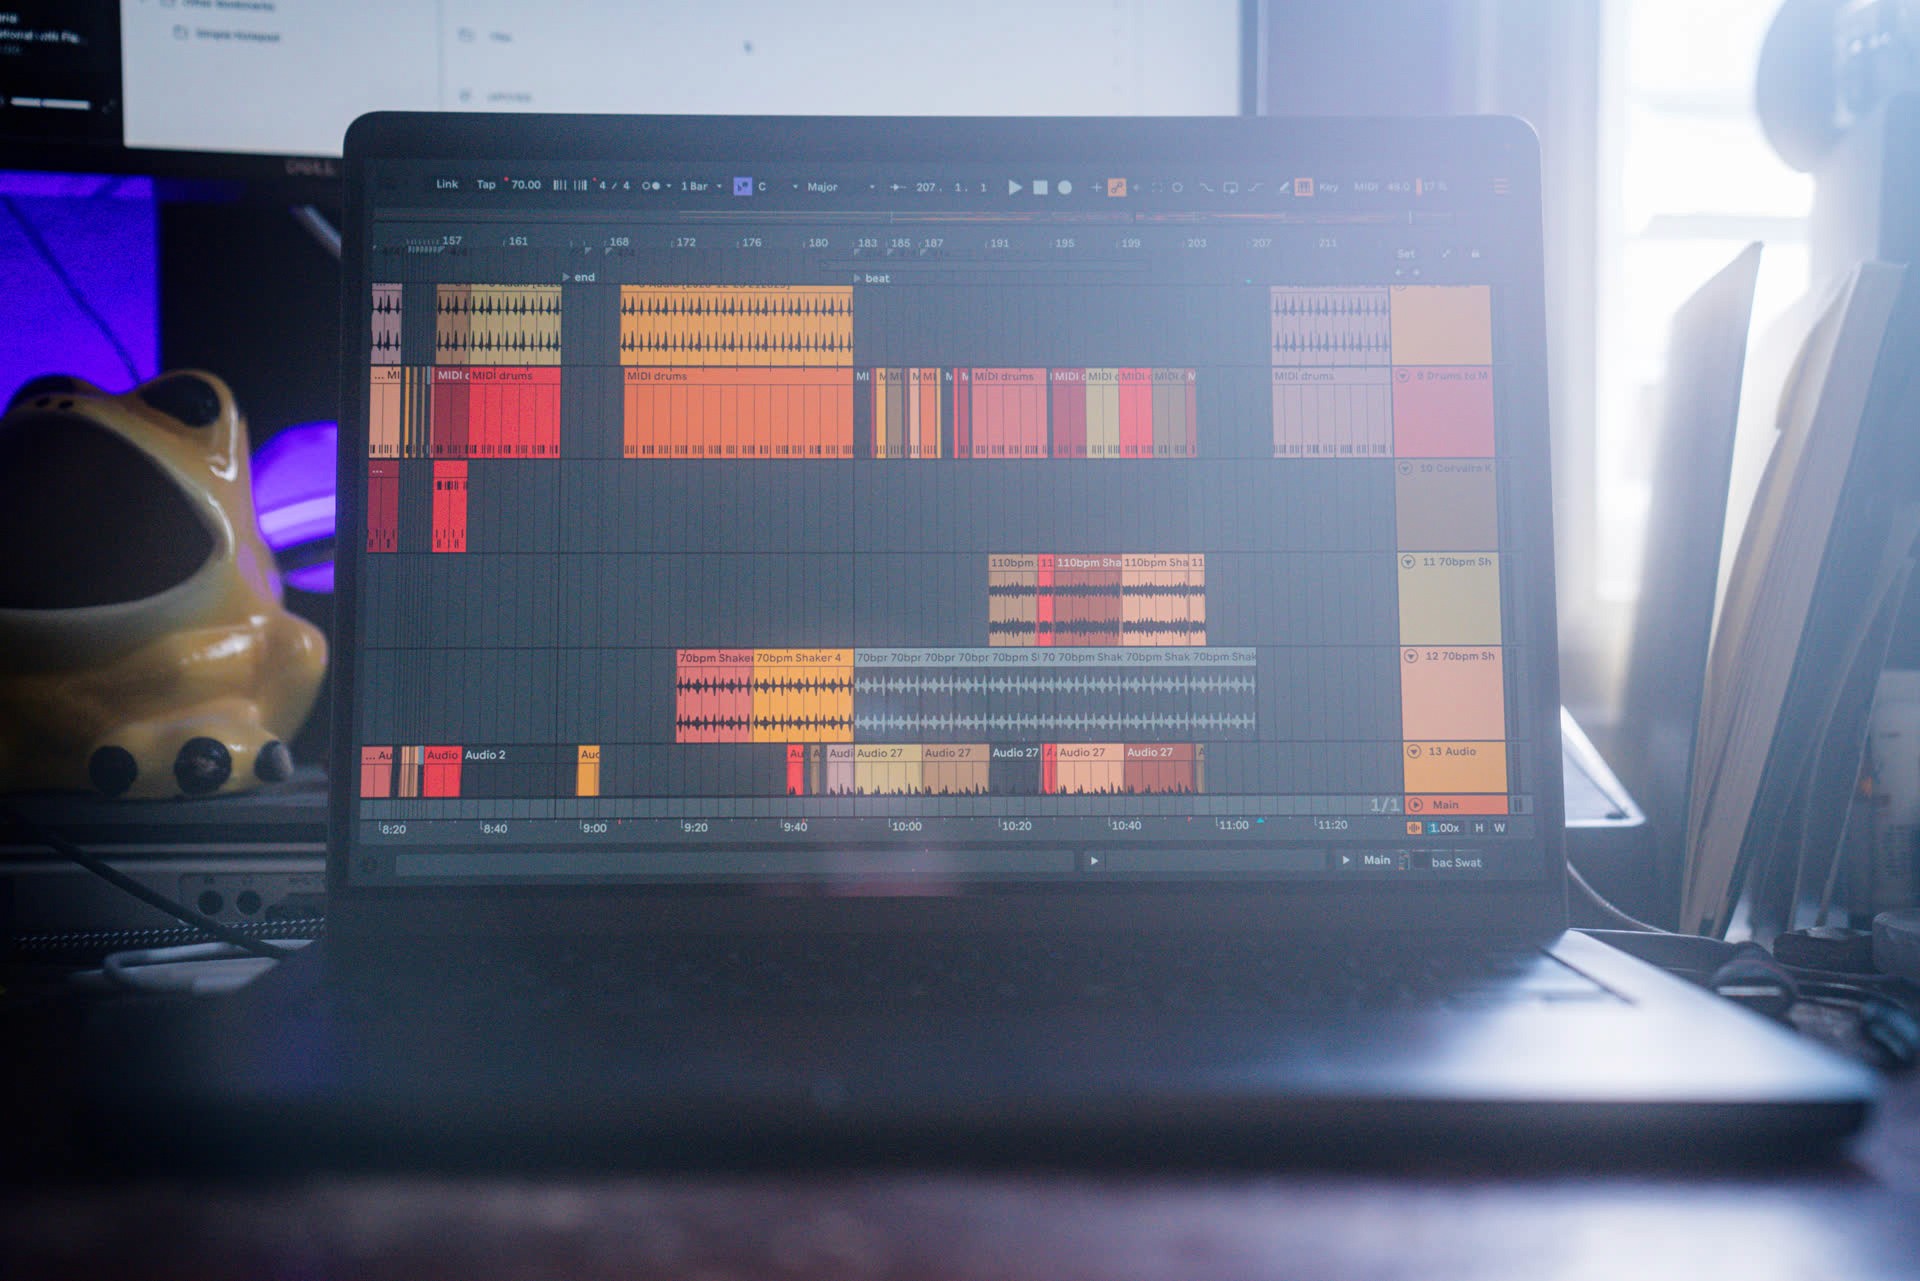
One of my very favorite sets of shortcuts I discovered recently are some of the simplest methods for navigating the Live set. Pressing W optimizes width (that is, zoom such that all clips in the Arrangement View fit within the screen horizontally) and pressing H optimizes height (resize all tracks to fit within the vertical limits of the Arrangement View, or at least as close as they can while unfolded).
You can rapidly jump to an overview of your full arrangement using the W and H commands.
In order for these shortcuts to work, two conditions must be true: First, you must have the Computer MIDI Keyboard toggled off. Second, your last click must have been somewhere in the Arrangement View in order to place it in focus.
Optimize Width and Height
One of my very favorite sets of shortcuts I discovered recently are some of the simplest methods for navigating the Live set. Pressing W optimizes width (that is, zoom such that all clips in the Arrangement View fit within the screen horizontally) and pressing H optimizes height (resize all tracks to fit within the vertical limits of the Arrangement View, or at least as close as they can while unfolded).
You can rapidly jump to an overview of your full arrangement using the W and H commands.
In order for these shortcuts to work, two conditions must be true: First, you must have the Computer MIDI Keyboard toggled off. Second, your last click must have been somewhere in the Arrangement View in order to place it in focus.
A similar set of simple shortcuts that are nonetheless handy, the Z key will zoom to fill the view horizontally with the current selection. Pressing Z again will toggle resizing the track to fill the vertical space, while pressing X at any point will zoom out to where you were pre-Z.
I like to click a clip’s title bar to automatically set its length as the selection, but Z works with any arbitrary selection so you can just highlight the area of the Arrangement that’s of most interest to you and focus there. The vertical resizing works across multiple tracks if you have them selected as well!
Keep in mind the same conditions apply for these key commands to work in this manner: computer midi keyboard is off, Arrangement View is focused.
By the way, getting a close-up look at a clip like this sets you up nicely for the kind of surface-level editing shortcuts discussed in this article’s companion article.
Panning Through the Layout
We typically refer to panning in Ableton Live as a means of placing sound in the stereo field, but here to pan means to visually scrub across a 2D surface (like Live’s interface). Hold Command + Option (Alt on Windows), then click and drag to traverse your arrangement both horizontally and vertically.
While a trackpad offers similar fast scrolling across both axis, if you’re not using something like a Magic Mouse this shortcut can be a real godsend for navigating the Arrangement View as you bounce between clips.
Modifier + Scroll Shortcuts
Another subtle yet impactful feature is the use of modifier plus scroll shortcuts. When you hold Command and scroll, it adjusts the Arrangement View horizontally in a fluid motion, offering a level of precision that's hard to achieve with clicks alone. Similarly, holding Option while scrolling changes the vertical size of the track under your cursor.
What makes this feature stand out is its organic feel. Unlike other shortcuts that snap to a specific view, this one mimics the natural action of scrolling through a webpage, letting you smoothly zoom in and out of areas of interest. This granular control can be particularly useful when you're looking to get a closer look at a specific part of your arrangement or need to adjust your view subtly during intricate editing tasks.
Fold and Unfold Tracks
Pressing H is probably the most intuitive way to open up all your track lanes to dig inside, but if you require more particular behavior try Option (Alt) + U: If you have any tracks folded, they will be unfolded. If you press the shortcut again, all the tracks will be folded. Pressing a third time will return all tracks to their original fold state before the first unfolding. Further presses of the shortcut simply cycles these states.
Another approach is to highlight the tracks you want to fold and unfold and press your left and right arrow keys to fold and unfold, respectively. The advantage here is you’re able to hide and show specific groups of tracks, including Return Tracks.
Fold and Unfold Layout Panels
Depending on your needs and general level of ADHD, you may wish to hide certain elements of the interface for a cleaner workspace. The shortcuts are easy enough to remember: all of them use the modifiers Command + Option (Ctrl + Alt for Windows users).
While holding these down, press the key corresponding to layout panel you wish to toggle:
B for Browser
O for Overview
R for Return Tracks
L for Clip Detail or Device View
I for Ins & Outs
M for Mixer
Borlim, Germany, where Ableton was born. Whether or not that’s a handy mnemonic to remember these, there are few more panel-hiding shortcuts to remember - S for Sends, G for Grooves, and Shift + ? for the Info View.
Optimize Clip and Track Colors
The above shortcuts help you quickly make your experience in Live more organized and more visually appealing. The other key component to an aesthetic workspace is in coloring your clips and tracks to a nice color pallet. Until recently, this was a fairly tedious process, but my latest Max for Live device offers a solution that is extremely fast and modestly enjoyable to boot!
If you’ve noticed the colors in the above animations looking suspiciously cohesive and appealing, Swatches is to blame!
Swatches colors clips and tracks all at once or on a case-by-case basis according to the palette and rules you set. You can randomize colors or colorize based on the name of each track and clip. It’s just one more piece of the puzzle in optimizing Live to your needs! (end plug.)
Conclusion
Armed with these nifty shortcuts and tools, you're set to navigate Ableton Live like never before. Here’s hoping they help your workflow become more intuitive and efficient.
If you haven’t already, be sure to jump over to the companion article on Arrangement View, Surface Level Clip Editing, which breaks down fast techniques for editing clips with the fewest clicks possible. Let me know if you’ll be using any of the above shortcuts on Twitter!


pATCHES © 2024
pATCHES © 2024
