Midi Mapping Clip Controls in Ableton Live
you'd be surprised by the things you can map these days. we often dig into audio with mouse clicks but as it turns out you can assign a midi device to a lot of your clip's controls to take a more hands-on approach to sample editing. note that these will affect only the selected clip - when you map these controls it is not for every clip but for whichever happens to be active when you make an adjustment. as such, if you like using these - especially in a live scenario - you might prefer "select on launch" in the record warp launch settings to be turned on to make the active clip more intuitive.
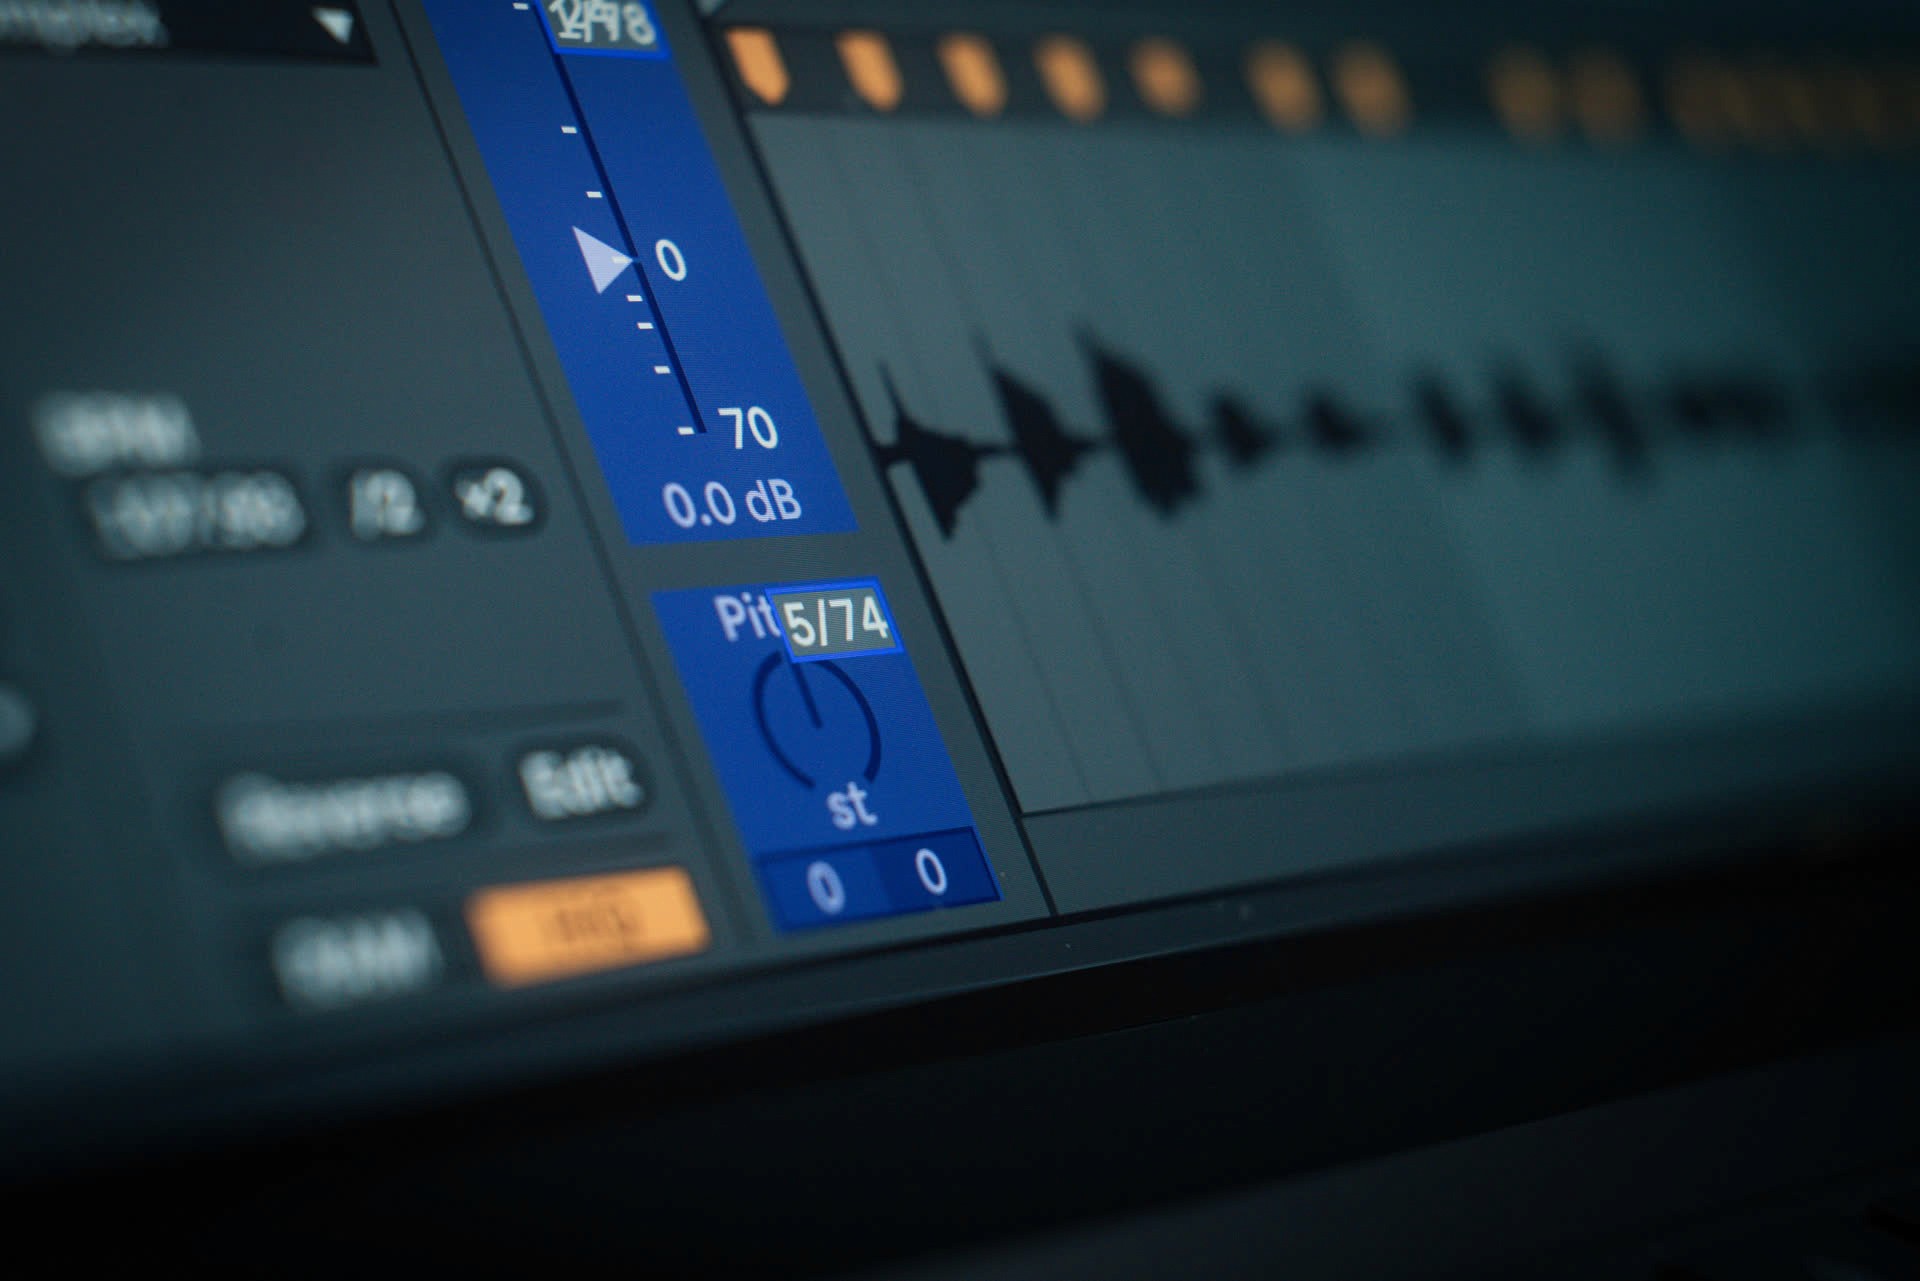
Clip Gain
I'm a big fan of clip gain. like any fader, it can be nice to get your hands on the slider & feel out the proper volume with a controller rather than a mouse drag. if you plan to use clip gain to do a lot of volume automation, you'll definitely appreciate this one as you'll be able to make rapid adjustments to the gain slider as you select different clips in your editing workflow.
Clip Transposition
transposition is a fun one to map too. note that this is not an automatable parameter (much to my chagrin - you need to use the separate transposition setting in the envelopes if you want to automate pitch) but you can record out your pitch changes into a separate track. this is lot easier to perform with a knob than a mouse so it's great you can map the parameter. also keep in mind the warp mode makes a huge impact on the sound & stylings of your pitch changes so experiment to determine what works best for your sound.
my tip: map this to your keyboard's pitchbend so you have the option to snap back to "0 steps" when you release the controller. you can go as crazy as you like & always feel confident you can immediately snap back to 0 st - essential in a live setting.
Clip Length & Start point
you can map the clip's start & end time as well. there are two methods for inputing these & both are midi mappable - the standard "scroll" & the "set button". the beat value "start" & "end" boxes will let you scrub through the tracks & the "set" will mark the current position of the playhead as the start or end depending on which button is pressed.
one thing to keep in mind - the time can only move in chunks the size of your current global quantization. this is set to 1 bar by default but if you want to move through your clip on a more granular level you can turn off global quantization with the shortcut cmd + 0. to change back to 1 bar, use cmd + 9.
Clip Loop Start & Length
these are very similar to the clip length controls. one nice feature that is also mappable in this section is the ability to turn on & off the loop. you can take advantage of these controls to extend out a clip in a live scenario or to discover new rhythms in your own tracks.
once again, global quantization will determine the size you can move these markers so use cmd + 0 if you want to move by a smaller amount - you can find some inspirational off-grid rhythms this way. the loop bracket gives you plenty of visual feedback so watch that to find the segment you want.

if you end up using these a lot, know you can save them to your default template. & if you like the idea of customizing ableton's controls to your liking, check out this post on key mapping.
if you end up using these a lot, know you can save them to your default template. & if you like the idea of customizing ableton's controls to your liking, check out this post on key mapping.
if you end up using these a lot, know you can save them to your default template. & if you like the idea of customizing ableton's controls to your liking, check out this post on key mapping.


pATCHES © 2024
pATCHES © 2024
