The Guide To Comping in Ableton Live
Comping is no doubt a key part of the recording workflow - seamlessly joining the best parts of multiple takes ensures you're presenting the best possible version of a vocal or synth part. Some DAWs include this as a slightly more intuitive feature (and it would be nice to see something similar in Live in the future), but with a combination of keyboard shortcuts & organization in arrangement view, the manual method for accomplishing this can be almost as speedy & actually give you more options. Let's look through how we might do this -
You don't have to start with looped recording, but it's a pretty easy way to quickly get multiple takes without breaking your flow. You can take several stabs at small passages (as I am here) as they loop in time or work on whole sections or even whole songs.
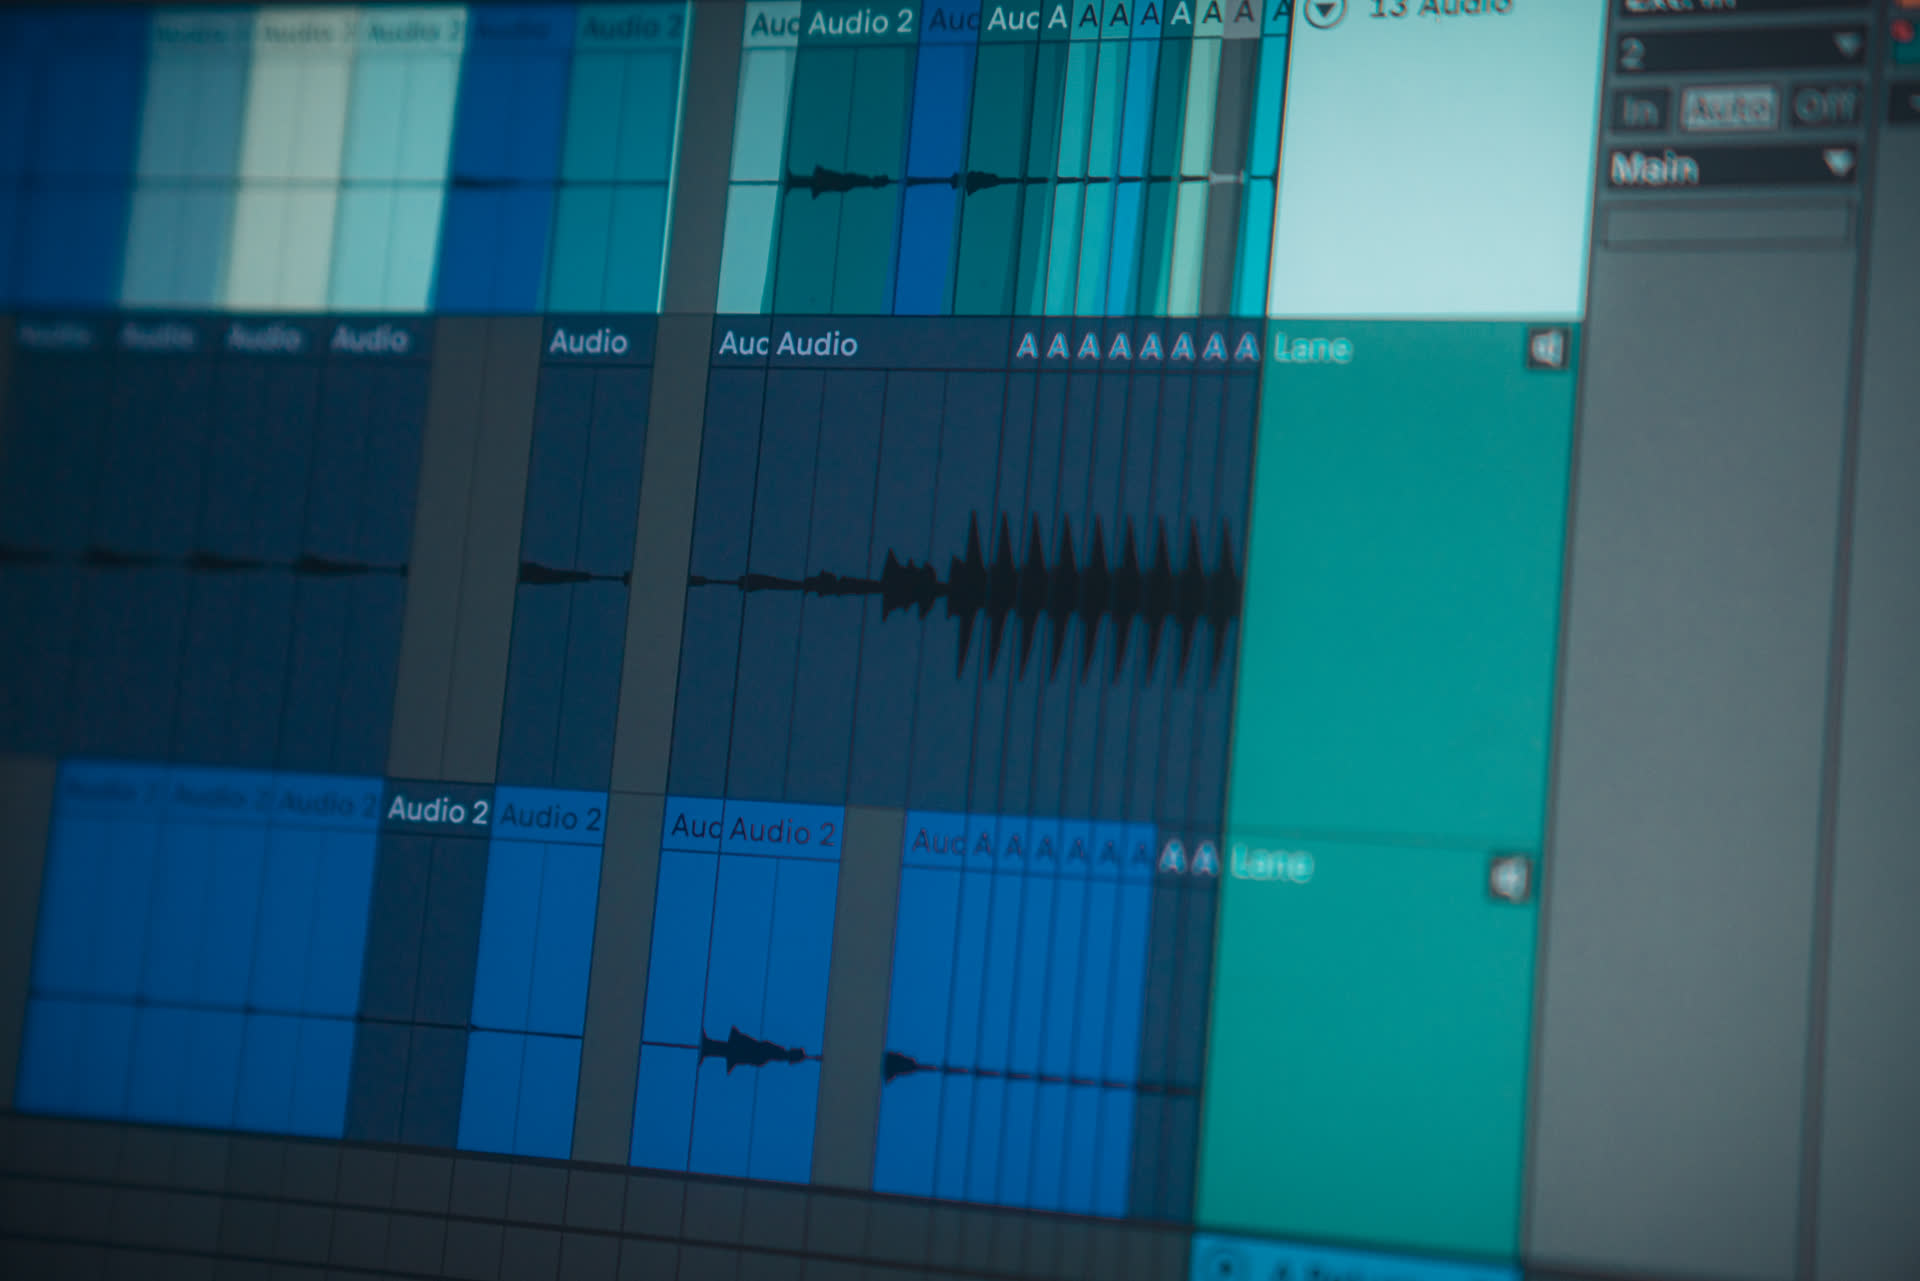
Once the recording is in, only the last take will be visible in arrangement view, so you have to cut it up to align all the different passes as it. It can feel like a pain to copy/paste this around to get everything in order but it can go really quick if you make use of a few shortcuts. Start with cmd + t to create a blank track, hold option & drag the recording into the new track to create a copy.
You don't have to start with looped recording, but it's a pretty easy way to quickly get multiple takes without breaking your flow. You can take several stabs at small passages (as I am here) as they loop in time or work on whole sections or even whole songs.
Once the recording is in, only the last take will be visible in arrangement view, so you have to cut it up to align all the different passes as it. It can feel like a pain to copy/paste this around to get everything in order but it can go really quick if you make use of a few shortcuts. Start with cmd + t to create a blank track, hold option & drag the recording into the new track to create a copy.
Take a look at the clip view of the copy & you'll see that the loop bracket, engaged or not, defines the exact length of the take, not the full recording. We'll use this to our advantage - drag the end of the loop bracket back to the start marker of the current clip. Now the loop bracket will perfectly surround the previous take & by turning "loop" on & off the active portion of the recording will snap to the previous take. Repeat this process for as many takes as you recorded in your loop.
Take a look at the clip view of the copy & you'll see that the loop bracket, engaged or not, defines the exact length of the take, not the full recording. We'll use this to our advantage - drag the end of the loop bracket back to the start marker of the current clip. Now the loop bracket will perfectly surround the previous take & by turning "loop" on & off the active portion of the recording will snap to the previous take. Repeat this process for as many takes as you recorded in your loop.
Take a look at the clip view of the copy & you'll see that the loop bracket, engaged or not, defines the exact length of the take, not the full recording. We'll use this to our advantage - drag the end of the loop bracket back to the start marker of the current clip. Now the loop bracket will perfectly surround the previous take & by turning "loop" on & off the active portion of the recording will snap to the previous take. Repeat this process for as many takes as you recorded in your loop.
Once these are all laid out you'll want to audition the different takes & identify the successful portions of each. Select the parts you like, but don't worry about getting too exact - you can adjust the clip size later during assembly later. Use the shortcut cmd + e to split each portion you like to its own clip. It can be useful to change the color of the extraction to differentiate it & you can even rename the clip with an identifier of some sort if necessary.
Once these are all laid out you'll want to audition the different takes & identify the successful portions of each. Select the parts you like, but don't worry about getting too exact - you can adjust the clip size later during assembly later. Use the shortcut cmd + e to split each portion you like to its own clip. It can be useful to change the color of the extraction to differentiate it & you can even rename the clip with an identifier of some sort if necessary.
Once these are all laid out you'll want to audition the different takes & identify the successful portions of each. Select the parts you like, but don't worry about getting too exact - you can adjust the clip size later during assembly later. Use the shortcut cmd + e to split each portion you like to its own clip. It can be useful to change the color of the extraction to differentiate it & you can even rename the clip with an identifier of some sort if necessary.
With all the best parts identified, you can easily delete all the superfluous material. From here, you can see which take had the biggest chunk of "good" & use that as the comp track. Just drag in the other clips to fill in the gaps, though if you have more than one take in a given section you'll want to compare them to determine which you like better.
With all the best parts identified, you can easily delete all the superfluous material. From here, you can see which take had the biggest chunk of "good" & use that as the comp track. Just drag in the other clips to fill in the gaps, though if you have more than one take in a given section you'll want to compare them to determine which you like better.
With all the best parts identified, you can easily delete all the superfluous material. From here, you can see which take had the biggest chunk of "good" & use that as the comp track. Just drag in the other clips to fill in the gaps, though if you have more than one take in a given section you'll want to compare them to determine which you like better.
Take some time to go over where the clips meet each other & ensure there is no ugly overlap - especially if you're comping vocals. You can easily clean this up by dragging one clip over the other to "cover up" any extra material with silence. You'll likely want to use fades at some points as well so you can transparently fade between clips and eliminate non-zero crossings. Using the shortcut cmd + option + f can pull these up for you to work with.
Take some time to go over where the clips meet each other & ensure there is no ugly overlap - especially if you're comping vocals. You can easily clean this up by dragging one clip over the other to "cover up" any extra material with silence. You'll likely want to use fades at some points as well so you can transparently fade between clips and eliminate non-zero crossings. Using the shortcut cmd + option + f can pull these up for you to work with.
Take some time to go over where the clips meet each other & ensure there is no ugly overlap - especially if you're comping vocals. You can easily clean this up by dragging one clip over the other to "cover up" any extra material with silence. You'll likely want to use fades at some points as well so you can transparently fade between clips and eliminate non-zero crossings. Using the shortcut cmd + option + f can pull these up for you to work with.
Finally, delete the muted alternate take tracks. Select your patchwork of "best clips" & consolidate them using cmd + j.
And there you have it: a complete, compiled clip & no-one need ever know it was stitched together from a number of takes.
Finally, delete the muted alternate take tracks. Select your patchwork of "best clips" & consolidate them using cmd + j.
And there you have it: a complete, compiled clip & no-one need ever know it was stitched together from a number of takes.
Finally, delete the muted alternate take tracks. Select your patchwork of "best clips" & consolidate them using cmd + j.
And there you have it: a complete, compiled clip & no-one need ever know it was stitched together from a number of takes.

If you have a question about some ableton workflow or another, ask me on twitter!
If you have a question about some ableton workflow or another, ask me on twitter!
If you have a question about some ableton workflow or another, ask me on twitter!


pATCHES © 2024
pATCHES © 2024
