Split Clip Dragging for Random Samples
We all want rare and unusual samples that will set our productions apart, but making them is a lot easier said than done. When we put on our sound design hats, the habits, muscle memory, and musical ideas we've built into our production process can make it challenging to create something truly new. To really inspire and surprise ourselves, we need to introduce a bit of randomness into the equation. In this edition of "Workflow Snapshots" we'll explore a technique for quickly generating tons of unexpected sounds with a novel method of clip splitting in Ableton Live.
Update: I'm hearing reports that this does not work on Windows and is probably an OS X-only trick.
You’ll need an audio clip. Any audio clip will do, but what works best will be between 2 - 8 bars long and fairly dynamic. If you use a clip that is too long, the samples won't get cut small enough to be functional, and if it's too homogenous you won't end up spawning the accidents and variety that lead to the best discoveries. Don't worry too much over this - just about any piece of audio will lead to good results - so select something arbitrarily if need be and place it in Live's arrangement view.
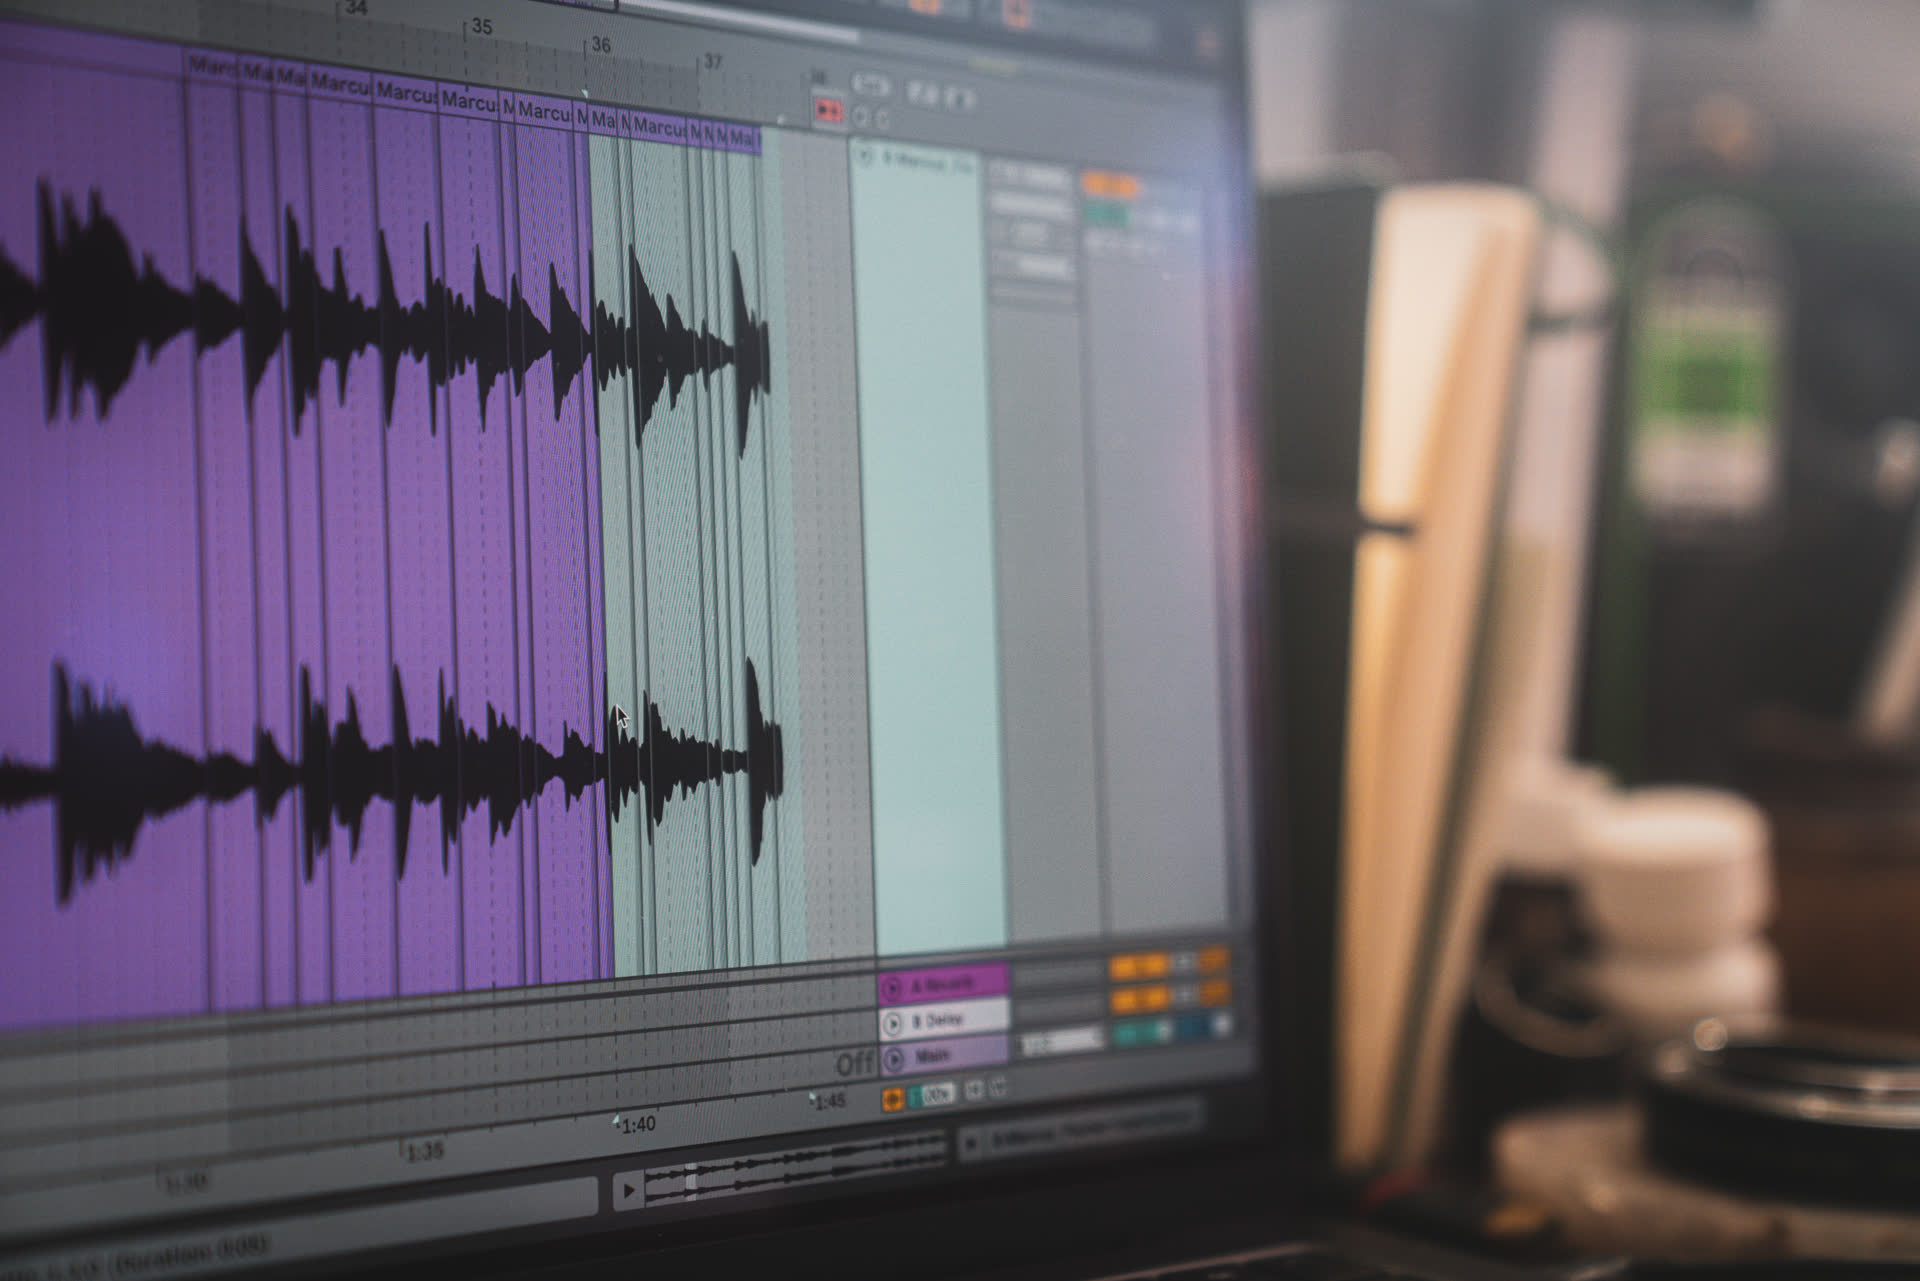
So the goal here is to chop this up pretty randomly, which isn't as easy as you'd think given almost all automated slicing systems (and indeed our own minds) are set up to think in pretty strictly structured musical terms. We're looking to break those rules. To do this we’re going to use a sneaky little glitch with split clip that - full disclosure - is probably not an intended function of Live. Click and hold the mouse somewhere on the clip you're using, hold the split clip shortcut [cmd + e] and (not letting go of the mouse click or keyboard shortcut) drag your cursor across the clip.
And there you go - the clip gets chopped up, regardless of the grid, transients, or global quantization. You’ll notice that the faster you drag the mouse, the larger the gaps between splits. Conversely, the slower you drag the smaller the gaps become. Vary the mouse speed speed to control the "density" of samples you split off.
You’ll need an audio clip. Any audio clip will do, but what works best will be between 2 - 8 bars long and fairly dynamic. If you use a clip that is too long, the samples won't get cut small enough to be functional, and if it's too homogenous you won't end up spawning the accidents and variety that lead to the best discoveries. Don't worry too much over this - just about any piece of audio will lead to good results - so select something arbitrarily if need be and place it in Live's arrangement view.
So the goal here is to chop this up pretty randomly, which isn't as easy as you'd think given almost all automated slicing systems (and indeed our own minds) are set up to think in pretty strictly structured musical terms. We're looking to break those rules. To do this we’re going to use a sneaky little glitch with split clip that - full disclosure - is probably not an intended function of Live. Click and hold the mouse somewhere on the clip you're using, hold the split clip shortcut [cmd + e] and (not letting go of the mouse click or keyboard shortcut) drag your cursor across the clip.
And there you go - the clip gets chopped up, regardless of the grid, transients, or global quantization. You’ll notice that the faster you drag the mouse, the larger the gaps between splits. Conversely, the slower you drag the smaller the gaps become. Vary the mouse speed speed to control the "density" of samples you split off.
That’s a neat trick, but how is it useful? Well, now that we have a ragtag group of randomly chopped, percussion-length clip, there’s only one thing to do - we’re going to make a drum kit out of these, if only to make them easier to play back and sort through.
That’s a neat trick, but how is it useful? Well, now that we have a ragtag group of randomly chopped, percussion-length clip, there’s only one thing to do - we’re going to make a drum kit out of these, if only to make them easier to play back and sort through.
That’s a neat trick, but how is it useful? Well, now that we have a ragtag group of randomly chopped, percussion-length clip, there’s only one thing to do - we’re going to make a drum kit out of these, if only to make them easier to play back and sort through.
Just get yourself a blank drum rack on a separate MIDI track and select all the split clips you made in the arrangement view track lane. Selecting these clips will change the active track, so make sure to click the name of the MIDI track after to return to its device view where the drum rack is. Now grab the selected clips and pull them directly into the blank drum rack - they’ll automatically populate all the open pads above the one you drop them on.
And just like that we have it! Our randomly split clips are ready to sort through!
I recommend making quick tweaks as you play each sample using Simpler to edit the transpose, sample start time, sample length, envelope, etc. to make them more interesting and playable. "Copy value to siblings" works brilliantly here, especially to fade in and fade out all your sounds at least slightly to avoid non-zero crossings.
It’s very unlikely you will have a perfect or beautiful drum rack now. However, it is just as unlikely that you will have discovered no good new sounds in this group! My recommendation is to bounce out the 3-5 percussion hits you really like, collecting them into a folder in your sample library. Then repeat the process over and over again with different clips, experimenting with varying drag speeds, initial clip sizes, and starting samples. Try cutting a spoken phrase or a synth lead to fracture them into fragments you wouldn't otherwise do manually. Since they'll never chop in musically intuitive ways, you always have the potential to uncover an unusual rhythm or inspiring melody rearrangement.
Conclusion
After performing this process a few times, you’ll not only have produced a collection of unexpected and unique sounds for your sample library, but you will have also gained a lot of sound design experience shaping sounds for purposes they weren’t intended for. (And not a lot of people will tell you this, but those skills are super useful to apply to more "standard" sounds as well — sshhhh).


pATCHES © 2024
pATCHES © 2024
