8 Uses For Midi Devices in Ableton Live

Ableton's stock plugins are great, but the MIDI devices are often ignored. Most producers using Ableton work heavily with MIDI & these devices can expand what's possible & improve the workflow when working with software instruments. In this article, we'll look at some ways you can use Ableton's MIDI devices for creative effects and time-saving utilities.

Stacked Arpeggiators

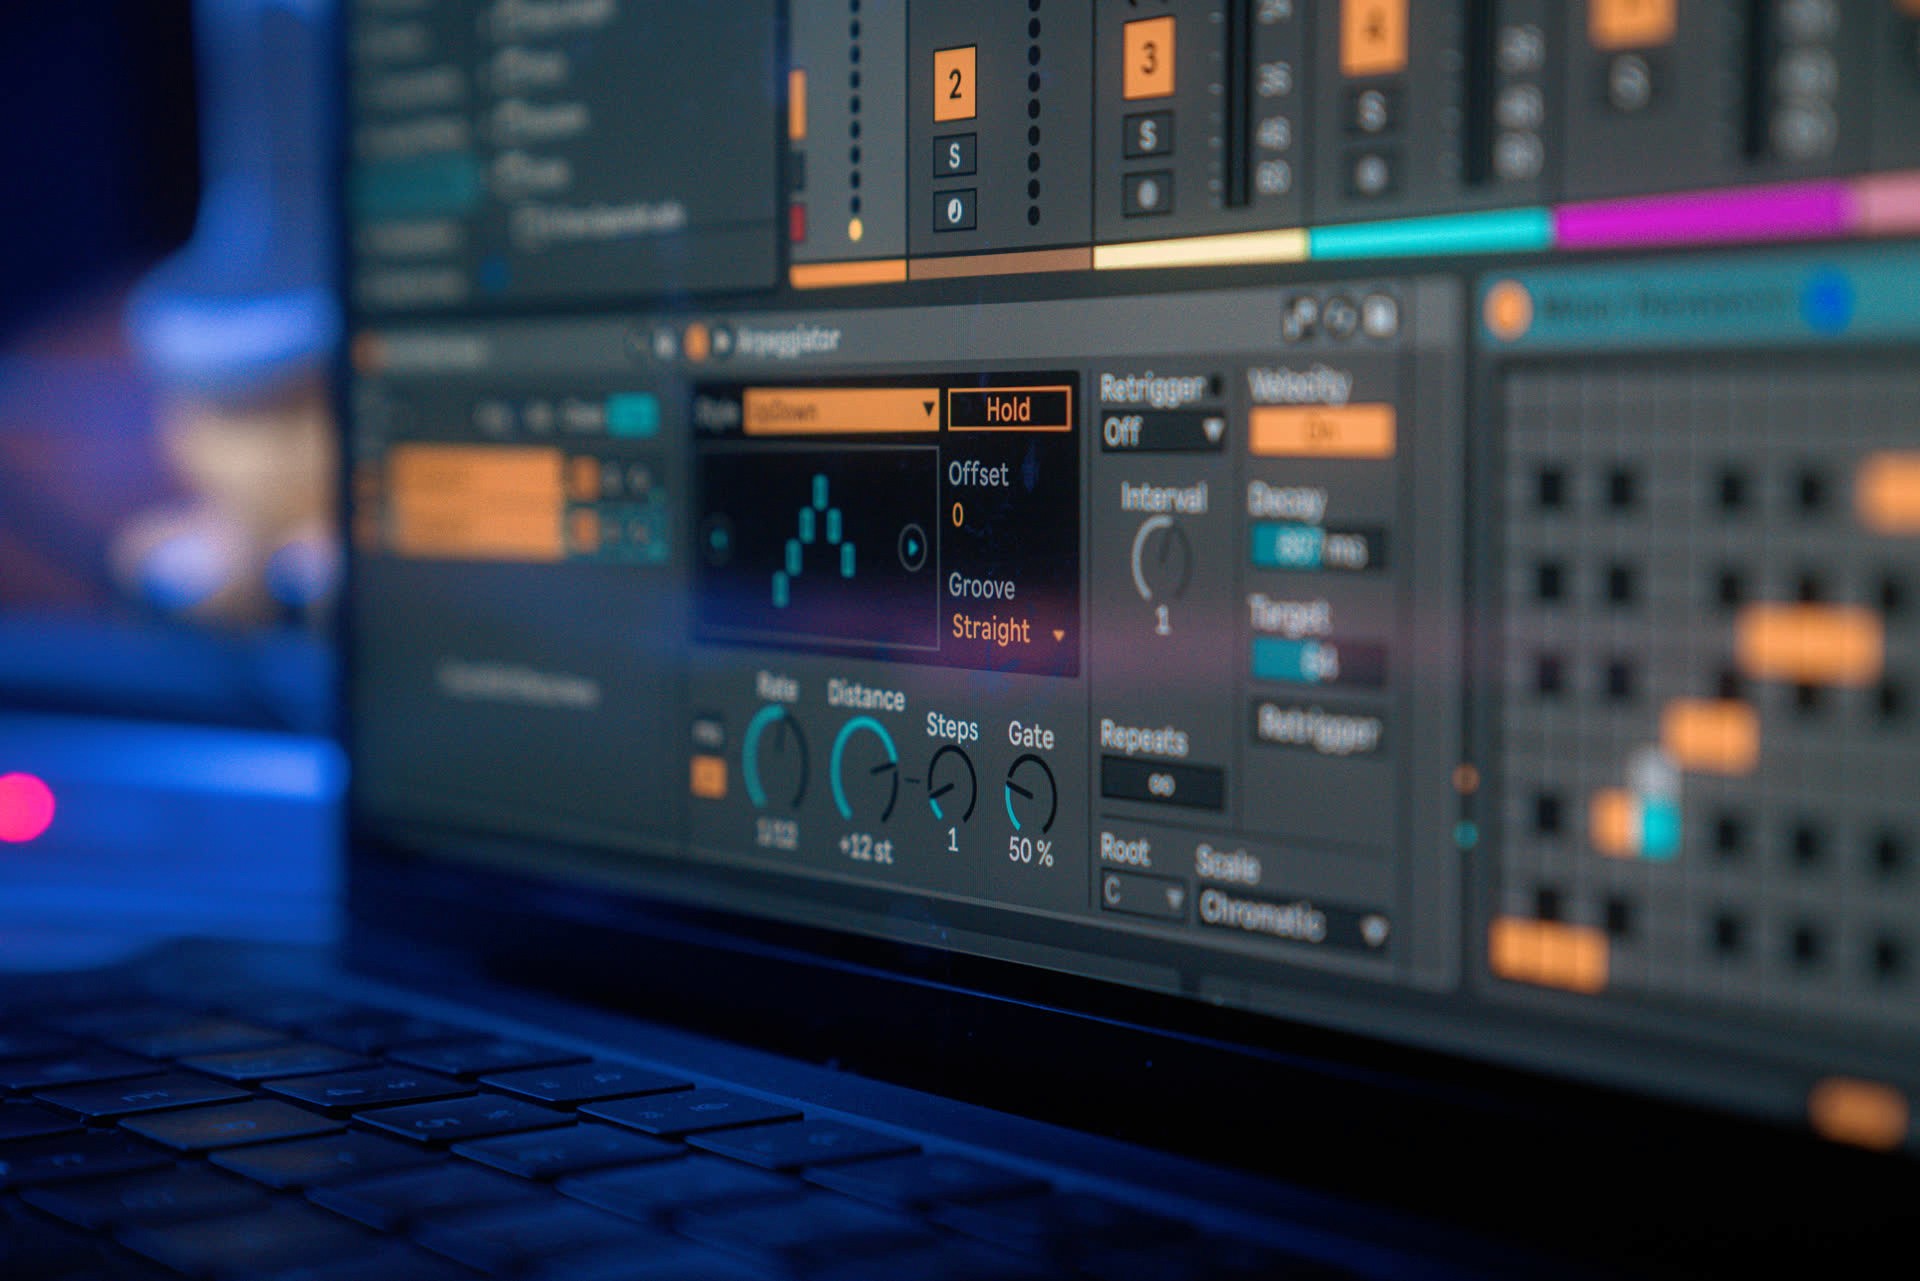
Arpeggiators are a staple of synthesizers, but even the more complicated patterns can still feel tired & stale. One way to get a fresh sound is to stack multiple arpeggiators in parallel. Just drop an arpeggiator on a MIDI track as normal, but group it (cmd + g) right away & duplicate the chain (cmd +d) to get a couple other instances of it. Then tweak the rate, style, & steps of each device.

0:00/1:34

You should quickly find something that has interesting interlocking patterns, whether you're holding down one note at a time or a wider chord. Try adding a pitch device set to an octave up or down to give each chain a different starting point, or change the "distance" to something smaller than an octave & combine with the scale device to keep everything in key. It's also useful to map some controls to the group macros to have quick control of the different chains' parameters. Try mapping all of the "gate" timings to one macro & the "rate" dials to their own to keep independent control.

Drum Fills and Rolls

Arpeggiators work well for tonal instruments, but they're usually not thought of when it comes to percussion. With the right settings, however, an arpeggiator can be a great way to add fills & rolls to drums. You can drop an arpeggiator on an individual pad - say, the hi-hat - & map the rate to the drum rack's macro.

You should also map the on/off switch for the arp as well & set the "min" value to 1 so the arpeggiator will stay off when the dial is set to 0. I prefer to invert the synced rate (so the lowest value is the slowest timing) & adjust the range to something more reasonable, but these will need to be set to taste, of course.

0:00/1:34

You can put an arpeggiator on any pad that you'd want to do these kinds of repeating notes on (& map each of their rate dials to the same macro, to boot), or you can put one before the whole drum rack. If you go with this method, be sure to set the "style" to "chord trigger" so that multiple notes can go through instead of just one at a time.

Random Drum Selection

Natural acoustic sounds are never consistent. Just try clapping 10 times - each hit will sound completely unique. Part of the reason listeners get turned off by electronic drums is that every hit sounds identical - each snare sounds exactly like the last, every hi-hat sounds the same, etc. If you have 10 clap samples, you can load them all into a nested drum rack & place random before it so that the sample will be chosen randomly. To set this up, load up any drum rack (it must have at least one existing sample in it), open it's chains, & drop an empty drum rack in the chain list. Next, open the i/o of the main drum rack & set the nested drum rack's "play" to C1 instead of C3. This will ensure the lowest random note will reach the lowest sample in the nested rack.

Then, select all the samples you want to have randomly selected in the browser & pull them onto the blank nested drum rack. Place the random device in front of the nested rack. Set the "choices" dial to 1 less than the number of samples in your nested rack (because the choices will be the number of steps above 1 that the random device can choose from) & pull the "chance" up to 100% for fully random.

Then, select all the samples you want to have randomly selected in the browser & pull them onto the blank nested drum rack. Place the random device in front of the nested rack. Set the "choices" dial to 1 less than the number of samples in your nested rack (because the choices will be the number of steps above 1 that the random device can choose from) & pull the "chance" up to 100% for fully random.

Then, select all the samples you want to have randomly selected in the browser & pull them onto the blank nested drum rack. Place the random device in front of the nested rack. Set the "choices" dial to 1 less than the number of samples in your nested rack (because the choices will be the number of steps above 1 that the random device can choose from) & pull the "chance" up to 100% for fully random.

Now every time you trigger the pad with the nested drum rack, a random sound will be selected.

0:00/1:34

You can use this to play many different instances of the same sound (like lots of samples of the same snare) or just lots of different percussion sounds to discover random sequences that you like. The example audio is made by pressing just one note over and over again, yet each sound is different.

Discovering Chords

When you move a chord shape over a guitar neck, you get the same chord with a different root (A major becomes B major by moving up two frets). This is easy to replicate in ableton using the chord device: +4 & +7 would make a major chord out of any key you play (an A note becomes an A major, a B becomes a B major). However, this is isn't so useful for finding progressions when only a couple of chords of the same "quality" will be in the same key.

On a keyboard, moving shapes works a bit differently. Think about your basic C major triad. If you move this up the white keys, say to E, you don't get E major but rather E minor - in fact, you'll get an in-key chord of different quality for every note as long as you stick to the white keys with this shape. With this in mind, even if you don't know the chords in C major, you can "discover" new in-key chords that work together to find a progression. This is the kind exploration we're after with this trick.

Putting it together is simple enough - just put a chord device at the start of your chain followed by scale, preferably the "C Major" preset to start with. Change the "base" to the key of your song (or it's major equivalent if in minor). Then, adjust the chord to whatever you like & play a single note on the keyboard; you'll now be able to move this "shape" around & the resulting chords will always stay in key.

0:00/1:34

In the audio example, I'm just playing three notes on the computer keyboard with the above settings. Try experimenting with different scales as well. This should help you find new chords that work well together because of their similar shapes, but keep in mind this won't allow you to play every chord ever without some adjustments - the idea is to just find a few you wouldn't normally play by just inputting notes.

Note Length

Every producer is familiar with ADSR, the envelope that shapes everything from amplitude to filters to pitch. It's common for a MIDI note to trigger the attack, & the length of the MIDI note influences the rest of the envelope stages. Given this, manipulating note length could prove an important component of your sound design.

Fortunately, Ableton's note length is set up to adjust this automatically. The two parameters you really want to look at are "note length" & "gate". It's usually good practice to set the note length to a reasonable average time & then manipulate & even automate the "gate" percentage.

With this set up on your MIDI chain, the "gate" dial can become a powerful tool that influences the way your synth's decay, sustain, & release times play out & for certain sounds - especially plucky instruments - and this is great to keep in mind.

Note Length

Every producer is familiar with ADSR, the envelope that shapes everything from amplitude to filters to pitch. It's common for a MIDI note to trigger the attack, & the length of the MIDI note influences the rest of the envelope stages. Given this, manipulating note length could prove an important component of your sound design.

Fortunately, Ableton's note length is set up to adjust this automatically. The two parameters you really want to look at are "note length" & "gate". It's usually good practice to set the note length to a reasonable average time & then manipulate & even automate the "gate" percentage.

 With this set up on your MIDI chain, the "gate" dial can become a powerful tool that influences the way your synth's decay, sustain, & release times play out & for certain sounds - especially plucky instruments - and this is great to keep in mind.

Note Length

Every producer is familiar with ADSR, the envelope that shapes everything from amplitude to filters to pitch. It's common for a MIDI note to trigger the attack, & the length of the MIDI note influences the rest of the envelope stages. Given this, manipulating note length could prove an important component of your sound design.

Fortunately, Ableton's note length is set up to adjust this automatically. The two parameters you really want to look at are "note length" & "gate". It's usually good practice to set the note length to a reasonable average time & then manipulate & even automate the "gate" percentage.

With this set up on your MIDI chain, the "gate" dial can become a powerful tool that influences the way your synth's decay, sustain, & release times play out & for certain sounds - especially plucky instruments - and this is great to keep in mind.

Random Velocity

As I mentioned earlier in the article, acoustic sounds aren't consistent, & the subtle variations keep a listener's attention. Velocity is just another means of creating realistic variation in your instruments, & while there are lots of ways to use the velocity device, it's the fastest way to randomize the incoming notes' velocities. Just turn the "random" knob to taste, & put constraints on the highest & lowest value possible with the two dials on the right side of the device.

0:00/1:34

In the audio example, I'm playing one drum hit with my computer keyboard - it should sound stiff and mechanical, but the varying velocity make it sound much more organic.

Make sure that whatever your MIDI notes are feeding into is velocity sensitive. For Ableton's Simpler, for example, you'll want to set the "vol< vel" dial to an appropriate level. If you want to learn more ways to randomize velocity, check out my article 5 ways to add variation to velocity in ableton live.

Key Change

It may be a small thing - & one you're already aware of - but you should never forget the power of the pitch device. Not good at playing in B minor? Just set a pitch device with +2 semi-tones at the start of your chain & play in the familiar A minor key.

Of course, you'll have to place these on every MIDI track if you want to change the pitch of your whole song & transpose the audio clips independently, but it is certainly handy when you want to try out different keys.

Recording MIDI

Consider the routing of MIDI in Ableton. Raw MIDI notes get processed through MIDI devices - as we've been discussing - before passing to instruments that convert the instructions to sounds. When you record on a MIDI track with an arpeggiator, you're recording these first raw incoming notes - not the resulting output of the arpeggiator.

If you want to record the raw MIDI output of the arpeggiator - or any of the devices mentioned in this article - that is easy enough to do. Just create a separate MIDI track, set its input to the track with the MIDI device on it, & arm to record. Now the output of the processed MIDI will be recorded out into a separate clip. 

Try combining this recording technique with any of the other tricks on this page to create inventive MIDI clips to work off of.

Seri Beats made an awesome video version of this article and goes into deeper detail with great demonstrations. Definitely check that out below:

Try combining this recording technique with any of the other tricks on this page to create inventive MIDI clips to work off of.

Seri Beats made an awesome video version of this article and goes into deeper detail with great demonstrations. Definitely check that out below:

Try combining this recording technique with any of the other tricks on this page to create inventive MIDI clips to work off of.

Seri Beats made an awesome video version of this article and goes into deeper detail with great demonstrations. Definitely check that out below: